Prerequisites
Before beginning the setup process, you will need the following information from your Reforge Insights team:- Entity ID (will be provided by your point of contact)
- ACS URL (Assertion Consumer Service URL) (will be provided by your point of contact)
Setup Instructions
-
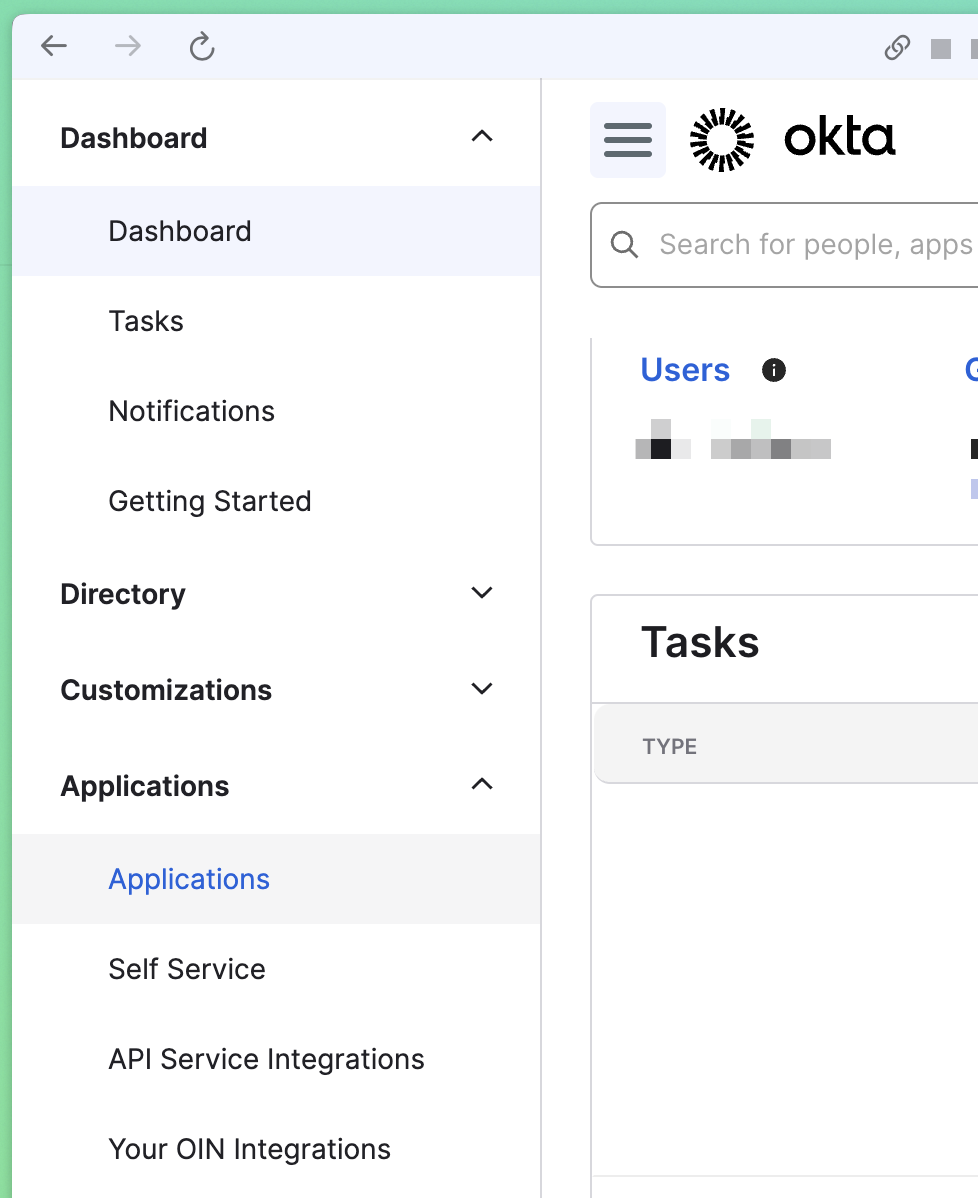
Open the left-nav bar and navigate to “Applications” (inside “Applications” section)
-
Click “Create App Integration”
- For Sign-in method, choose “SAML 2.0”
-
Click “Next”

-
Configure General Settings
- You can name the app as you’d like, we suggest “Reforge Insights”
- You can download a logo to provide here: [link to logo]
- Other settings can be left empty or default values
- Click “Next”
-
Configure SAML Settings
- Single sign on URL: Enter the ACS URL provided by your Reforge Insights team
- Check “Use this for Recipient URL and Destination URL”
- Audience URI (SP Entity ID): Enter the Entity ID provided by your Reforge Insights team
- Default RelayState: Leave blank
- Name ID format: Choose “EmailAddress”
- Application username: Choose “Email”
-
Configure Attribute Statements (Optional)
- These can be configured based on your organization’s needs for user attributes
- Common attributes include:
- Name:
email, Value:user.email - Name:
given_name, Value:user.firstName - Name:
family_name, Value:user.lastName
- Name:
-
Configure Group Attribute Statements (Optional)
- This can be configured if you want to pass group membership information
- Click “Next”
-
Configure Feedback
- Select “I’m an Okta customer adding an internal app”
- Select “This is an internal app that we have created”
- Click “Finish”
-
Assignments
- Navigate to the “Assignments” tab
- Configure assignments based on who should have access to Reforge Insights
- You can assign individual users or groups
-
Download Metadata
- Navigate to the “Sign On” tab
- Click “View Setup Instructions” or look for the “Metadata URL”
- Download the metadata XML file
Share Details with Reforge Insights
- We suggest using secure methods, like temporary credentials through 1password, or other secure document sharing means in place with your organization.
-
The final set of details that need to be shared:
- Metadata XML file (downloaded from step 10) OR the Metadata URL
- Email domain(s) users in your organization have that will access Reforge Insights e.g.
@company.netor@company.com
- Share these details with your point of contact at Reforge Insights